Guides
Gemini to 3D: how to turn a Gemini or Google AI Studio image into a 3D model
Gemini and Google AI Studio make images, not meshes. How to prompt for 3D-ready reference views and turn them into a model you can export.
3 min read

Quick answer
Can Gemini make a 3D model?
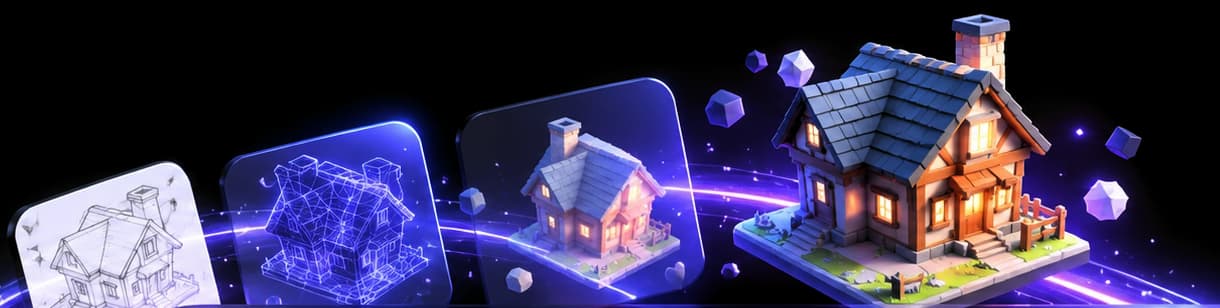
Gemini makes images, not 3D files. It can draw something that looks three-dimensional, and it is good at keeping one character consistent across several views. Ask it for a front view and a side view on a plain background, then give those to an image-to-3D generator, which builds the mesh you can export as GLB, OBJ or FBX.
What Gemini can and can't do in 3D
Gemini's image model (Gemini 2.5 Flash Image, the one people call Nano Banana, plus its newer versions) generates and edits pictures. You use it in the Gemini app or, with more control, in Google AI Studio. Neither gives you a mesh. "3D" in a Gemini prompt changes the look of the picture, not the file type.
What Gemini is good at is the part image-to-3D tools find hardest: consistency. You can ask it to show the same object from the side, then from behind, and it will usually keep the proportions and colours. That makes it a useful reference-sheet generator.
Step 1: Ask for a reference, not an illustration
Image-to-3D works best on a single object, whole, centred, on a plain background, with soft light. Write that into the prompt:
A wooden treasure chest with iron bands, front view, whole object in frame, centred, plain light grey background, soft even studio light, no shadows on the ground, no text.
Avoid prompts that ask for a scene ("in a dungeon"), dramatic lighting or a tilted camera. They make better pictures and worse inputs. What makes a good image for 3D goes through the details.
Step 2: Ask for the other views in the same chat
Stay in the same conversation so Gemini keeps the design:
Now show exactly the same chest from the left side, same lighting and background.
Then the back, if the back is different. Compare the views side by side. If the iron bands moved or a handle appeared, ask Gemini to fix it before you go on. A view that disagrees with the front is worse than no view.
For characters, a T-pose or A-pose front view helps a lot if you plan to animate later: A-pose vs T-pose.
Step 3: Generate the mesh
Upload the front view to an image-to-3D generator. If it accepts extra angles, add the side and back views. Multi-view image to 3D explains why that helps.
In Vi3W you can skip the copy and paste: the image step runs on the same Nano Banana model family (Nano Banana on every plan, Nano Banana 2 and Pro on paid plans), extra view angles cost 10 XP each, and the 3D step comes right after. The exact costs are on the pricing page.
Step 4: Check it before you export
Turn the model around. Look at:
- The back and underside. Anything you didn't show was guessed.
- Thin parts. Straps, antennas and fingers come out thick or lumpy.
- Baked lighting. If the picture had a highlight, the texture has it too.
Then export GLB for the web and game engines, FBX for Unity and Unreal, or OBJ for 3D printing. Vi3W retopologises the mesh first, so it opens in Blender with clean quads rather than a dense triangle mesh.
Google AI Studio or the Gemini app?
Either works. The Gemini app is quicker. AI Studio lets you pick the exact model version and set the aspect ratio, which matters because a square image keeps a standing character smaller in frame. Use a portrait ratio for tall objects.
Try it
Got a Gemini image you like? Open Vi3W, upload it, and add a side view if you have one.
Last reviewed