Guides
Nano Banana 3D figurine: how to turn the picture into a real model you can print
The viral Gemini figurine is a picture, not a 3D file. How to re-prompt it for a clean reference, turn it into a mesh, and print it on your desk.
4 min read

Quick answer
Can you turn a Nano Banana 3D figurine into a real 3D model?
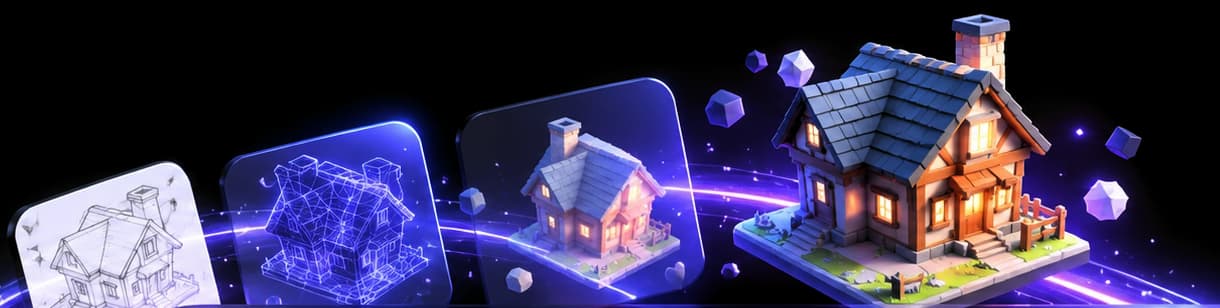
Yes, with one more step. The viral figurine is a photo-realistic picture made by Google's Gemini 2.5 Flash Image, not a 3D file. To get a mesh you can rotate, print or put in a game, feed a clean front-facing version of that picture into an image-to-3D generator and export GLB, OBJ or FBX.
What the figurine trend actually makes
In September 2025 Google's image model Gemini 2.5 Flash Image, nicknamed Nano Banana, set off a trend: upload a selfie or a pet photo, ask for a "1/7 scale collectible figurine", and get back a picture of a toy on a desk, often with a box and a computer screen behind it. It runs in the Gemini app and in Google AI Studio (TechRadar's walkthrough).
It looks like a render of a 3D model. It isn't one. There is no mesh behind it, so you can't turn it around, print it or drop it into Blender. It is a very convincing photograph of something that does not exist yet.
Why the viral picture is a poor 3D input
An image-to-3D generator has to guess the back and sides of whatever is in the picture. The figurine shots are styled for Instagram, which works against that:
- The props. The box, the monitor and the acrylic base are all part of the image. The generator will try to model them too.
- The camera angle. A low three-quarter view with shallow depth of field hides the feet and the far side.
- The lighting. Strong reflections and desk shadows get baked into the texture.
Step 1: Re-prompt Nano Banana for a clean reference
Go back to the same chat, so it keeps your character, and ask for a reference image instead of a photo shoot. Something like:
Same figurine, full body, standing straight, facing the camera, on a plain light grey background. No box, no base, no desk, no text. Even studio lighting, no strong reflections.
Check the result for anything thin and floating (a loose strand of hair, a separate sword) and ask Gemini to tuck it in. Those are the parts that break first, both in 3D and in a print. The best photos for image to 3D covers what makes a good input.
If your character has an important back (a cape, a backpack, wings), ask for a back view as well. Several generators, Vi3W included, can take more than one view, and the back will no longer be a guess.
Step 2: Turn the picture into a mesh
Upload the clean reference to an image-to-3D tool. In Vi3W, the default image step is already Nano Banana, so you can do both steps in one place: generate or upload the reference image, then make the 3D model from it. The default 3D model is TRELLIS, and Hunyuan 3D and Tripo are available on paid plans. Each step shows its XP cost before you run it (pricing).
Rotate the result before exporting. Look at the back and the underside, because that is where the generator invented the most.
Step 3: Print it
Export OBJ for printing (Vi3W exports GLB, FBX and OBJ, not STL, and most slicers open OBJ directly). Then:
- Scale it. A "1/7 scale" figure of an adult is around 25 cm tall, which is a long print. Start at 8 to 10 cm. Scale a model for printing.
- Make sure the mesh is closed. Make a model watertight.
- Add a base so it stands. The round acrylic base from the picture is easy to add in your slicer or in Blender as a cylinder.
- Print in resin for face detail at small sizes, or in PLA for anything over about 10 cm. AI miniatures for 3D printing has the settings that matter.
Want the colours of the picture? A multicolour printer can get you part of the way: multicolour prints from an AI model.
A note on faces and other people
The trend started with selfies. Printing your own face is fine. Printing someone else's, or a well-known character, raises consent and copyright questions that the AI step doesn't remove. If you plan to sell it, make sure you have the right to.
Try it
Have a figurine picture you love? Open Vi3W, upload the clean version, and see what the back of your figure looks like.
Last reviewed