Guides
How does a 3D text generator work and what features does it offer?
How a 3D text generator turns font outlines into extruded, bevelled letters, the features worth having, and how to make 3D text in Blender or a slicer.
 Aman Porwal on LinkedIn (opens in a new tab)Founder @ Vi3W
5 min read

Quick answer
How does a 3D text generator work?
It reads the outline of each letter from a font file, fills it into a flat face, extrudes it to give it depth and rounds the edges with a bevel. The features that matter are font choice, extrusion depth, bevel size, spacing, text on a curve, materials and export to a real 3D file such as OBJ, STL or GLB.
How does a 3D text generator work?
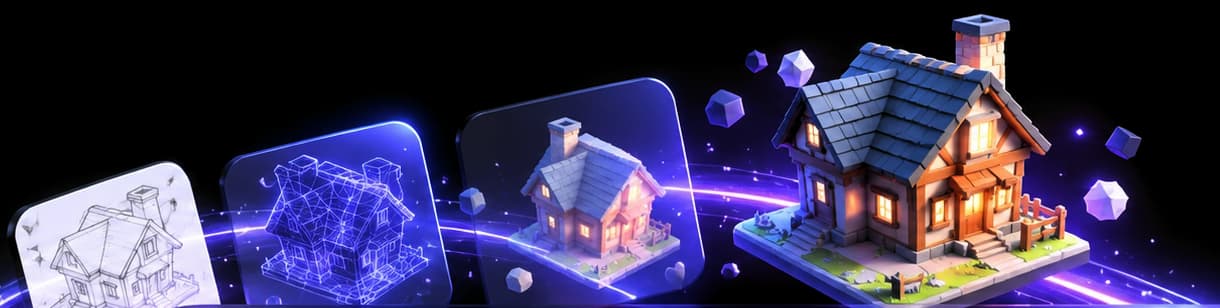
A 3D text generator works in four steps: it reads the outline of each letter from a font file, fills that outline into a flat face, extrudes the face to give it depth, and bevels the edges so they catch light. Everything else (materials, lighting, export) sits on top of those four steps.
- Outline. A font stores each character as vector curves. The generator reads those curves at whatever size you ask for.
- Fill. The closed curves are filled with triangles to make a flat letter. Holes, like the middle of an "o", are left open.
- Extrude. The flat letter is copied backwards by the depth you set, and the two copies are joined by side walls. Now it is a solid-looking slab.
- Bevel. The front and back edges are rounded or chamfered. A small bevel is the difference between text that looks cut from cardboard and text that looks like a chrome logo.
That is the whole trick. A good 3D text generator is mostly a well-designed set of controls over those four steps.
Two different things get called a "3D text generator"
Before comparing features, check which tool you actually need, because the name covers two unrelated jobs.
- 3D lettering tools turn the words you type into 3D letters. That is what this guide is about: titles, logos, signs, name plates, keychains.
- AI text-to-3D generators turn a description, such as "a rusty lantern", into a 3D object. They do not render your words as letters at all. If that is what you meant, read how text-to-3D works instead.
There is also a third, weaker category: tools that make a 3D-looking image of text. If the only download is a PNG or JPG, you have a picture, not a model.

What features does a real 3D text generator offer?
These are the controls that separate a usable tool from a toy. Blender's text object is a good reference because it exposes all of them, and its Text Properties manual page documents each one.
- Font loading. Any font file, not only a handful of presets. Blender reads TrueType, OpenType and PostScript Type 1 fonts. In Blender a separate font file is needed for each style: the manual notes you load up to four (normal, bold, italic, bold italic).
- Extrusion depth. How thick the letters are.
- Bevel depth and resolution. How big the rounded edge is, and how many segments make it smooth.
- Offset. Makes letters thinner or thicker. Blender warns that it "can quickly lead to artifacts", so use small values.
- Size, shear, spacing and alignment. Shear is not the same as italic: it slants the whole text.
- Text on a curve. Letters follow a path, for an arc over a badge or a ring. Blender recommends its Curve modifier for this.
- Materials. Different materials on the faces and the bevels, the classic gold-face, dark-side look.
- Real 3D export. OBJ, FBX, GLB or STL, so the text can go into a game, an animation or a print.
Features for 3D printing
Slicers have their own text tools aimed at putting text on a part. PrusaSlicer's Text tool works with any TrueType font installed on your computer and offers three types: Added (embossed), Subtracted (a negative volume that debosses) and Modifier. Its "Use surface" option wraps text onto a curved face, up to a 90 degree limit, with more distortion as you approach it.
How to make 3D text in Blender
Blender is free and gives you every feature above. Here is the short route:
- In the 3D Viewport, choose Add ‣ Text. Press Tab to edit, delete "Text" and type your own words. Press Tab again to leave.
- Go to Properties ‣ Data ‣ Font and load a font file.
- Open Properties ‣ Data ‣ Geometry. Raise Extrude for depth, then open the Bevel subpanel and raise Depth for rounded edges and Resolution for smoother ones.
- In the Shape panel, set the Fill Solver to Delaunay. The manual recommends it because "most font files contain self-intersecting curves".
- When it looks right, convert it with Object ‣ Convert ‣ Mesh. After this, the text is ordinary geometry and can no longer be retyped, so keep a copy of the text object.
- Export with File ‣ Export to OBJ, FBX, glTF 2.0 or STL.
Turning a logo into a 3D model uses the same extrude and bevel method with an SVG instead of a font.
Common problems and when not to use a 3D text generator
- Letters look jagged after export. Raise the curve resolution before converting to mesh. Once it is a mesh, you are smoothing triangles, which is harder.
- Overlapping strokes cancel out. Script fonts often overlap. Switch the fill solver to Delaunay or try the other fill rule.
- Text is too thin to print. Fine serifs and hairlines break on FDM printers. Pick a bold sans-serif font and check the thinnest stroke in your slicer.
- You want a sculpted 3D mascot, not letters. A text generator only ever extrudes outlines. For a character or an emblem with depth and detail, you need modelling or an AI generator.
Where Vi3W fits
Vi3W is not a 3D lettering tool, and it does not set type. Its text input does the other job: you describe an object and it generates a textured 3D model, which you can export as GLB/glTF, FBX or OBJ. A sensible split is Blender or your slicer for the words, and an AI generator for the object the words sit on, such as a trophy, a sign post or a shop prop. For printing either one, see text to 3D print.
Frequently asked questions
how does a 3d text generator work and what features does it offer
A 3D text generator reads the vector outline of each character from a font, fills it, extrudes it to a depth you set and bevels the edges. The useful features are font loading, extrusion depth, bevel depth and smoothness, letter spacing and alignment, text along a curve, materials, and export to a mesh format you can render, animate or print.
how does a real 3d text generator work and what are its key features
A real one builds geometry, not a picture of letters. It converts font curves into a filled mesh with actual thickness, so you can rotate it, light it and export it. Key features are depth and bevel controls, font and style choice, spacing, curve following and a real 3D export (OBJ, FBX, GLB or STL). If it only gives you a PNG, it is a 3D-style image tool.
what are the real features of a 3d text generator?
Extrusion depth, bevel depth and resolution, font loading (including separate bold and italic fonts), size, spacing and alignment, text on a curve, and export to a real 3D file. For printing, add emboss and deboss onto an existing model. Anything less is a styled 2D effect.
how to add text to 3d model
For a print, use your slicer's text tool: in PrusaSlicer, select the model and press T, or right-click it and choose Add part, Text, then set it to Added (emboss) or Subtracted (deboss). For a render or game asset, add a Text object in Blender, extrude it, convert it to a mesh and place it on the model.
Last reviewed