
Vi3W
Skip to content

Use case · Product design

From product sketch to a 3D model you can render, spin and show online

For product designers and e-commerce teams turning sketches and photos into 3D visuals.

Quick answer

How can product designers use AI 3D generation?

To turn early sketches and reference photos into 3D concept models without CAD. Vi3W generates a textured model from a drawing or a photo, which designers can render in Blender, show in a web viewer or use in an AR preview. It is built for visualising and communicating ideas, not for manufacturing-accurate geometry.

At a glance

What product design gets from Vi3W.

Inputs
Product sketches, concept art or reference photos
Exports
GLB / glTF, FBX, OBJ
Good for
Concept visuals, web viewers, AR previews, pitch renders
Not for
Manufacturing, tolerances or engineering CAD

The 3D workflow with Vi3W

From a simple idea to a production-ready model, in four steps.

  1. 1

    Input

    Start with a text prompt, a sketch or an image.

  2. 2

    AI generation

    Vi3W creates a textured 3D model in seconds.

  3. 3

    Edit and refine

    Adjust style, geometry, materials and LOD.

  4. 4

    Export and use

    Export and import into your favourite tools.

Concept models from the sketchbook

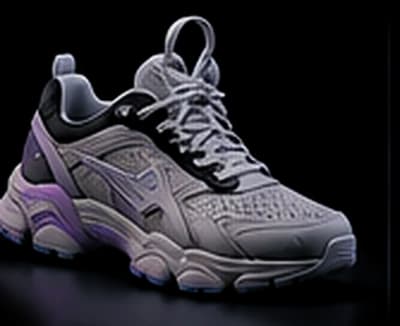
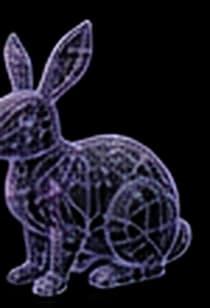
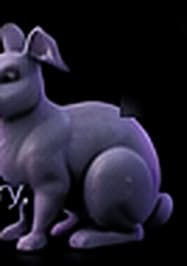
Product ideas start on paper. Building each early concept in CAD takes time a designer would rather spend exploring. Vi3W takes the sketch itself, pencil, marker or digital, and returns a textured 3D model to judge proportions and form from every angle. Iterating means redrawing and regenerating, not rebuilding.
Rendering and presenting

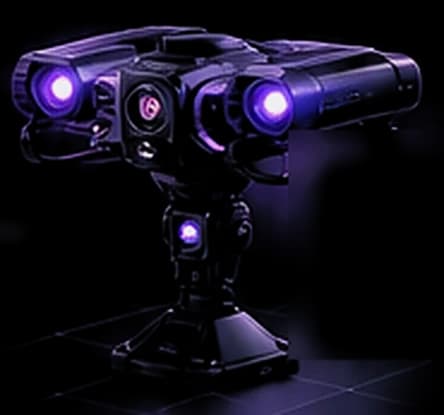
Import the GLB into Blender for studio renders: place it on a curved backdrop, light it with large soft area lights, and render it in several colours by swapping the material. The Blender guide covers the import. For decks and reviews, a rotating 3D model often explains a form faster than a row of static views.

On the web and in AR

A GLB can go straight onto a product page through Three.js or Google's <model-viewer>, where customers can rotate it. The same file, converted to USDZ, opens in Apple's AR Quick Look so a buyer can place the product on their own desk. See AR and VR.

What this doesn’t do

  • Not CAD. Vi3W produces visual meshes, not parametric solids. There are no exact dimensions, tolerances or manufacturable surfaces, so production design still happens in CAD software.
  • Inferred, not measured. A sketch or photo shows one side. Hidden details are interpreted, so check every view before presenting a model as the real product.
  • Real products need accurate colours. Generated textures approximate the reference. For e-commerce, match colours and logos to the real product before publishing.

Recommended formats

Choose the right format for your workflow.

Recommended 3D formats by workflow
FormatBest forNotes
GLB / glTFWeb, AR/VR, Godot, Three.js, BlenderRecommended. One file carries the mesh, UVs and PBR textures.
FBXUnity, Unreal Engine, DCC pipelinesWidely supported. Unity imports it natively.
OBJLegacy tools, 3D printing prepMesh and UVs only. Its .mtl predates metallic and roughness maps.
USDZAR on iPhone and iPad (Quick Look)Not a direct export. Convert the GLB in Blender or Reality Converter.

Tool integrations

Import Vi3W models into popular tools.

Frequently asked questions

Is it possible to create a dynamic product configurator?

Yes. Load the product as a GLB in Three.js, keep each configurable part as a separate mesh, and change materials, colours or visibility in response to the customer's choices. glTF also has a materials-variants extension, which <model-viewer> supports, for switching predefined finishes without writing much code.

How to render product in multiple positions AND colors?

Animate the changes and render the frames. Keyframe the product's rotation or the camera for each position, keyframe the material colour for each variant, and render the animation as an image sequence: one frame per combination. For many combinations, a short Python script that loops through positions and colours and renders each is quicker to maintain.

How do I achieve realistic lighting like the attached product render?

Studio product renders rely on large, soft light sources. Use a big area light as the key, a dimmer fill on the opposite side, and a rim light behind to separate the edges. Add white reflector planes for highlights on glossy surfaces, use a curved backdrop with no visible horizon, and keep the colour management view transform on AgX or Filmic, not Standard.

Capabilities, integrations and terms for this workflow.

Product design

Turn your next sketch into a model

Free monthly credits, straight from the browser.

Last reviewed