
Guides
Low poly vs mid poly vs high poly: what is the difference?
What low, mid and high poly mean, how the mid poly workflow uses bevels and weighted normals instead of baking, and which one your model needs.
 Aman Porwal on LinkedIn (opens in a new tab)Founder @ Vi3W
5 min read

Quick answer
What is the difference between low poly, mid poly and high poly?
Low poly uses as few polygons as the shape allows and relies on textures or flat shading. High poly uses many polygons for sculpted detail, usually for renders or for baking. Mid poly sits between: one mesh with real bevelled edges and weighted normals, so hard-surface models shade cleanly without baking a separate high poly version.
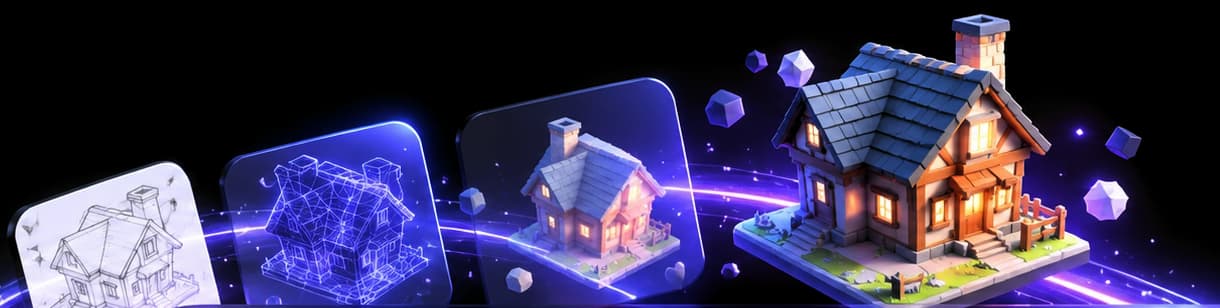
Low poly vs mid poly vs high poly: the short version
Low poly, mid poly and high poly describe how much geometry a model uses and, more usefully, how its detail is made. None has a fixed polygon number. A model's category depends on its platform and its job. What separates them is where the detail lives:
- Low poly: detail lives in textures (a baked normal map), or the model is deliberately faceted as an art style.
- High poly: detail lives in the geometry itself: sculpted wrinkles, smooth subdivided curves, millions of polygons if needed.
- Mid poly: detail lives in modest geometry, mostly bevelled edges, with shading fixed by custom normals. No separate high poly to bake from.
Our low poly vs high poly guide covers the two classic ends and the baking that connects them. This page is about the middle, which is where a lot of modern hard-surface game art sits.
What is mid poly, exactly?
Mid poly is a workflow for hard-surface models: weapons, vehicles, props, machinery, buildings. Instead of modelling the same object twice, once as a detailed high poly and once as a light low poly, then baking one onto the other, you build one mesh with real rounded edges.
In an 80.lv article on the mid poly workflow in Unreal Engine 5, Malte Resenberger-Loosmann, hard-surface and material lead at Angelic, puts it plainly: "we do not build the same mesh twice – high poly and low poly." He adds that "for flawless shading, it is necessary to use face weighted normals (FWN) or weighted normals." His team still bakes some support maps, for edges, thickness and dirt masks, but not a high-to-low normal map.
The two techniques that make it work:
- Bevels on hard edges. A narrow bevel, often one or two segments, catches light the way a real manufactured edge does. Sharp 90° edges look fake in a render; small bevels fix that.
- Weighted normals. On a bevelled box, plain smooth shading makes the big flat faces look warped. Weighting the vertex normals toward the large faces keeps those faces flat and lets the shading blend only across the bevel.

How to make a mid poly model in Blender
Blender has both tools built in as modifiers, so you can keep the base mesh simple and adjust later:
- Model the base shape as you would a low poly, keeping big flat faces.
- Add a Bevel modifier. The Blender manual describes it as a non-destructive bevel with a Limit Method, so set the limit to Angle to bevel only sharp edges. Use a small width and one to three segments.
- In the Bevel modifier's options, turn on Harden Normals. The manual says it adjusts the bevel faces' normals "to match the surrounding faces", so flat areas stay flat.
- Or add a Weighted Normal modifier after the bevel. Per the manual, its Face Area mode gives larger faces more influence over the shared normal, and Keep Sharp preserves sharp edges.
- UV unwrap, then texture with tiling materials or a trim sheet. Bevels add UV islands, so pack them carefully.
- Export as FBX or GLB with custom normals included. Check the result in your engine, because shading depends on the normals surviving the export.
Pros and cons of each
- Low poly. Pros: lightest, best for mobile, VR, crowds and the web. Cons: needs a baked normal map for realistic detail, which means a high poly to bake from, or accepting a faceted style.
- Mid poly. Pros: one mesh to edit, clean shading, fast to iterate when the design changes, with no bake to redo. Cons: more triangles than a strict low poly, fiddlier UVs, and it suits hard surfaces far better than organic shapes.
- High poly. Pros: maximum detail, ideal for film, product renders, 3D printing and as a bake source. Cons: too heavy for most real-time use as is.
When not to use mid poly
- Organic models. Faces, creatures and cloth get their detail from sculpting, not bevels. Sculpt high, retopologise and bake.
- Tight triangle budgets. On mobile, in large crowds or on platforms with strict limits, the extra bevel geometry adds up. Bake to a true low poly instead. What's a good poly count for game assets gives starting budgets.
- Characters that deform. Bevel loops help hard armour pieces, but skin and joints need clean edge flow, not chamfers.
- The faceted art style. If you want visible facets, smoothing them with bevels defeats the look.
Which should you choose?
- A hard-surface prop for a PC or console game: mid poly, if your budget allows it. It's quicker to change and looks crisp.
- The same prop for mobile: low poly with a baked normal map. Baking high poly to low poly in Blender shows how.
- A sculpted character or creature: high poly sculpt, then a low poly game mesh.
- A render, an animation still or a print: high poly is fine.
Where AI-generated models land
AI generators usually output dense, high poly-like meshes made of triangles. Vi3W retopologises every model automatically from high poly to a lighter low poly mesh, with PBR textures carrying surface detail, so you start nearer the low poly end. It doesn't build mid poly bevels or weighted normals for you; if you want that look on a hard-surface prop, add the Bevel and Weighted Normal modifiers in Blender after import. For reducing an AI mesh further, decimate vs retopology explains the trade-offs. Generate a prop in Vi3W and try the modifiers on it.
Frequently asked questions
low poly vs mid poly vs high poly
Low poly is the lightest and depends on textures for detail. High poly is the heaviest and captures detail in the geometry itself. Mid poly is a workflow more than a count: you add just enough bevel geometry to round the hard edges and fix the shading with weighted normals, instead of making separate high and low poly meshes and baking between them.
low poly vs medium poly vs high poly
"Medium poly" and "mid poly" mean the same thing. It's the middle option: denser than a classic low poly game mesh because the edges are bevelled, much lighter than a sculpt, and without the high-to-low normal map bake that a classic low poly asset depends on.
Last reviewed